Showing posts with label Crafts!. Show all posts

Tuesday, February 25, 2014

Sewing

Can I just say that lately I LOVE Sewing! I just wish I had a child to make things for, or a home to really decorate for! We don't plan on being in our home for very much longer so I've been trying to wait to do things like curtains or refurnish some of our things because I just don't know what kind of place we are moving into next. 

BUT...

My older Brother is having a baby boy! So I get to spoil him! So far, I made this adorable, extra soft Minkee Blanket! I ended up getting a lot of fabric and then I just decided to make 3 blankets with it. I even sold one for more than the cost of all three blankets(I got the fabric on sale :))! So I've been wanting to make them and sell them lately as a fun little hobby! 

 This material is literally my favorite! It is sooooo soooo soft! I LOVE IT! and I can't
 wait for my baby nephew to be curled up inside! I am so EXCITED! 

I also made these cute little travel pillow cases. My In-Laws got all of us a travel pillow and asked me to make some cases! 


Now, to start on some outfits!!! EEEKK so excited!

Monday, January 27, 2014

My New Years Goal!

So for New Years my goal was to make my home more homely and so that is what I have been working on. For Christmas I got a Silhouette and I am in love with it! I just keep making things like crazy! I'm kind of addicted now! So I just thought I'd put up some of the crafts I made! 

 My cute little Valentines Day Crafts! 
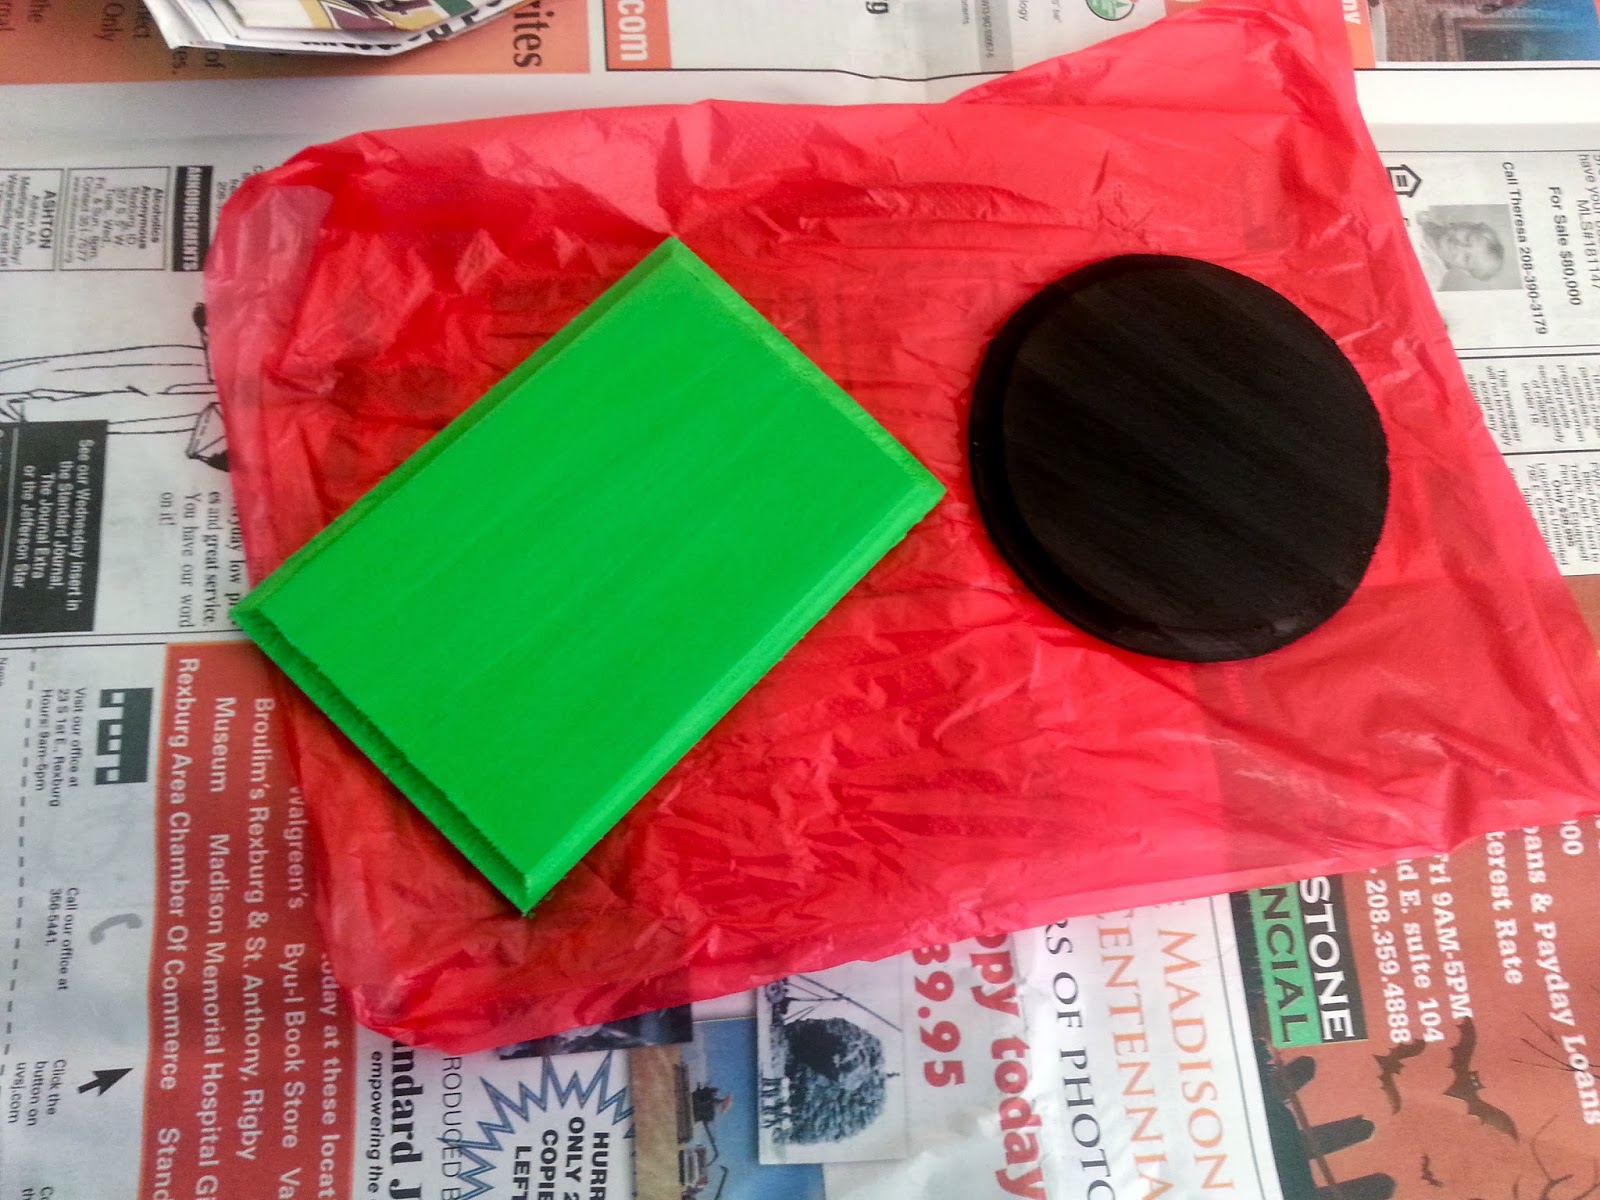
Koop cut up the wood for me, I sanded them,
 painted them and put the letters on!
These were to add something to our plain bare WHITE walls!
They don't look quite as big as they really are. I think there 9x11 maybe 
I can't quite remember I know it had an 11 in it!
 This is my favorite! Its 16x20! I have been wanting a picture of the temple we got married but I haven't been able to find one and so recently I got this idea to make one! So I did! I Blew it up onto a poster, buffed up the edges with black ink, modge podged it onto canvas and then added the EST.2013! It was actually pretty easy and only cost about $15
This is the final products all together!

 I still have a few more Valentines Crafts I am working on 
but for now, this is the latest projects! 

Friday, January 10, 2014

Anniversary Gift: A Year Of Dates

When it comes to dates sometimes it is very easy to think of things and sometimes it is very hard! Kooper especially doesn't like picking, he'd rather me pick. So when it came to planning something for our 1st Anniversary I had no idea what I was going to do! No IDEA! So I started thinking about Dates and how many fun things we could do and I had seen something similar to this idea before and though hmm I can do that! So I started cutting and decorating and then thinking of dates for each month and then whipped this all together! It was fun to make and I really enjoyed it. I cut a piece of paper in 4 and then the rest I did all by hand! I hope Kooper loves it! 


Koop will be working in Island Park and so I thought we 
could take advantage of that and go exploring!
Here is the final results! I can't wait to do each one of these! I am very Excited!!! Each month no matter what we will have ONE date planned out!


Sunday, December 29, 2013

Dinosaur Tag Toy!

The other day I was at a craft fair and they had little tag blankets for babies and I thought hmmm.. Sampson loves to chew on tags, its one of his favorite things. So I thought maybe I will make him a tag toy! It was a brilliant idea because my oldest brother just happens to be having a baby and so I can make two! That way I will get to practice on Sampsons, and make a perfect one for the baby! 

So I did a little searching and came across a few different ideas on Pinterest! So what I did was trace the shape I wanted, I got Dinosaur fabric and so I thought a Dinosaur would be perfect. 

Step 1: Cut shape or animal you would like! 

Step 2: Place Ribbon along the Right Side of the fabric (You can choose the same, different and how many different spikes you want)

Step 3: Sew right side to right side, make sure to leave an opening (I may or may not of forgot and had to open it back up!) so you can flip it (preferably along the bottom or somewhere not as noticeable. After you have sew them together, flip it so right sides are on the outside. 


 Step 4: Stuff with what ever you would like! I had an old pair of shorts and so I just cut them up and stuffed my dinosaur. (You could add plastic, bells, squawkers or anything else if you want as well)


Step 5: Hand Stitch the opening and your all done! 

Super easy and Simple! Plus my puppy loved it! He always goes to the bucket and picks his little dinosaur out! 


Friday, December 6, 2013

DIY ORNAMENT!

This being Kooper and I's first Christmas I thought it would be really fun to make a few ornaments. That would remind us each year the first Christmas we spent together!!
 To start I got these two blocks from Porter's for $1 each! 

 Then I painted them!

Then I got pictures for both of them, I cut the pictures to fit!

I used modge podge to stick them together, I didn't realize I only had Puzzle Modge Podge till I started but it still worked pretty good.


 I stapled Ribbon to hang them from the tree. 

And Viola! Here are the finished products! I love them, I think they turned out great, and I think that they will be fun reminders of our first Christmas together. You might ask why I chose these two pictures? Well the one on the left is Sampson, our new puppy (who was pretty much an early Christmas Present) I love him! Go here to see more Pictures of him! Then the picture on the right is of Me and Kooper getting our first REAL Christmas Tree! It was so much fun! I'll get the details for that later, but for now here are some EASY DIY ornaments! If you want more ideas check out Tawny's Tid Bits! On December 13th she will be posting 13 DIY Ornaments from 13 different girls to give you some fun ideas!


Tuesday, November 26, 2013

Get Crafty

So last weekend My sister-in-law,mother-in-law, Nicole and I went to a craft fair in Idaho Falls. It gave us so many ideas, and we saw so many cute things there. We have been wanting to craft for so long but  never could because I'm always gone! So finally we went to Malad for the weekend and spent the whole day crafting! It was magical, we got so many crafts done, so many started, and best part figured out the circuit so we can make anything now! 

Soo.. To start we first got out all the scrapbook paper, paints, glue, modgepodge, stickers, paint brushes, tulle, ribbon... you name it. Then we got started!

 Here are the few things we made! I love them all! 
Some are not quite done! But will be soon!

Here is my Christmas Tree  I made! I'm not quite finished.
I want to put a star on top of it, I just have to find it! 
This is my days still Christmas, its also not finished I have to get 
a little chalk board on it for my countdown.  But its pretty much done.
 I decided since I don't have very many decorations I better not
make every one a Christmas decoration.
 These are Krichele's stocking holders. There adorable, you can't see them as good 
as they really look but the red is all sparkles and is super cool looking. 
Funny craft, I made the Santa Stops Here and Krichele(sister-in-law) really liked it and wanted to make one as well but she mixed it up a little. She did Stop Here Santa, and then Teresa(mother-in-law) will be making one that says Santa Stop Here. Its kind of funny, they all are similar but have there differences.  
These are Krichele & Teresa's Joy's they made. Super cute!

This is going to be my stocking holder! I am going to sand it down a little and make it look more rustic and put two hooks on the red to hang mine and Kooper's first stalkings together! Can't wait!  I free handed the writing on this and I have to say, I'm pretty impressed with it! 

All these crafts are super easy to make! We made them all out of wood, paint, and vinyl. We cut and sanded all the wood ourselves!(My lovely, sweet Hubby of mine helped us out a lot on that part!) Cheap & Easy! Once the final products are ALL done, and the crafts that we haven't finished are done, I'll do a part 2! Which one's do you like the best?

Any questions, feel free to ask! 

Monday, November 11, 2013

Homemade wreath

Here is my very first homemade wreath! I love the way it turned out! I had everything to make it for a couple months and just couldn't figure it out! Luckily I have the bestest friend ever (Nicole Hubbard) who helped me make it! Now for Christmas time! 

Monday, September 16, 2013

Childrens Sewing

Last semester I got the chance to take Childrens Sewing. I wanted to learn how to sew because I'd recently got a new sewing machine. And if you know me very well I don't know how to sew, or now I can say "didn't." We made the cutest baby clothes and I was pretty impressed with myself. But just because I am making baby clothes DOES NOT mean I am pregnant! I simply thought it would be the funnest and it was! Here are some of the projects I made. 

(I just took them all out of my bag to take pictures so there all a little wrinkly, and me being at college still have yet to buy an Iron :/ Whoops so this is as good as you get!)

 This is my blessing dress. First off, it looks a lot cuter in person! And I'm not finished there will be a silky cute bow that wraps around it, when I find the material I want. Good thing I don't have a little girl yet so I have time! I wanted to do something plain and simple because thats just what I thought would be the best!
 Here is my cute little sleeper! I was nervous about this project but I love it! ITs made of Fleece so its super soft!

Here is my coat! It is pink in the inside and purple polka dots on the outside! I LOVE IT too! 

 Here is my shirt and pants! There pretty good too, like everything else :) 

And then the little cap and booties... There tiny and adorable, probably something for when my little guy is just a little guy! 

So for now, I have all these cute itty bitty baby clothes yet no one to wear them. Don't worry though, I am not in a rush!

Thursday, September 12, 2013

Crafty Crafts

After making my rug I got a little crafty. I had a earring/necklace holder for along time that I had made with a frame and I stapled chicken wire to the back. Well it broke so I made a new one out of wood. It had been the wood color for so long I finally decided to paint it, and distress the edges a little. Here it is! Such a simple and cute way to hold your Jewlery.


My next project was my cream coffee table I made! I didn't take enough pictures to show you exactly how I did it. To start my sister in law had bought a mattress and it came with some wood that she didn't want so she let me use some of it. I came up with this great idea to make a coffee table out of it.

We tore it all apart and got the piece I wanted to use for the top! Here they are, they were a dark wood color and I sanded them down and sprayed them cream to match our couches. 

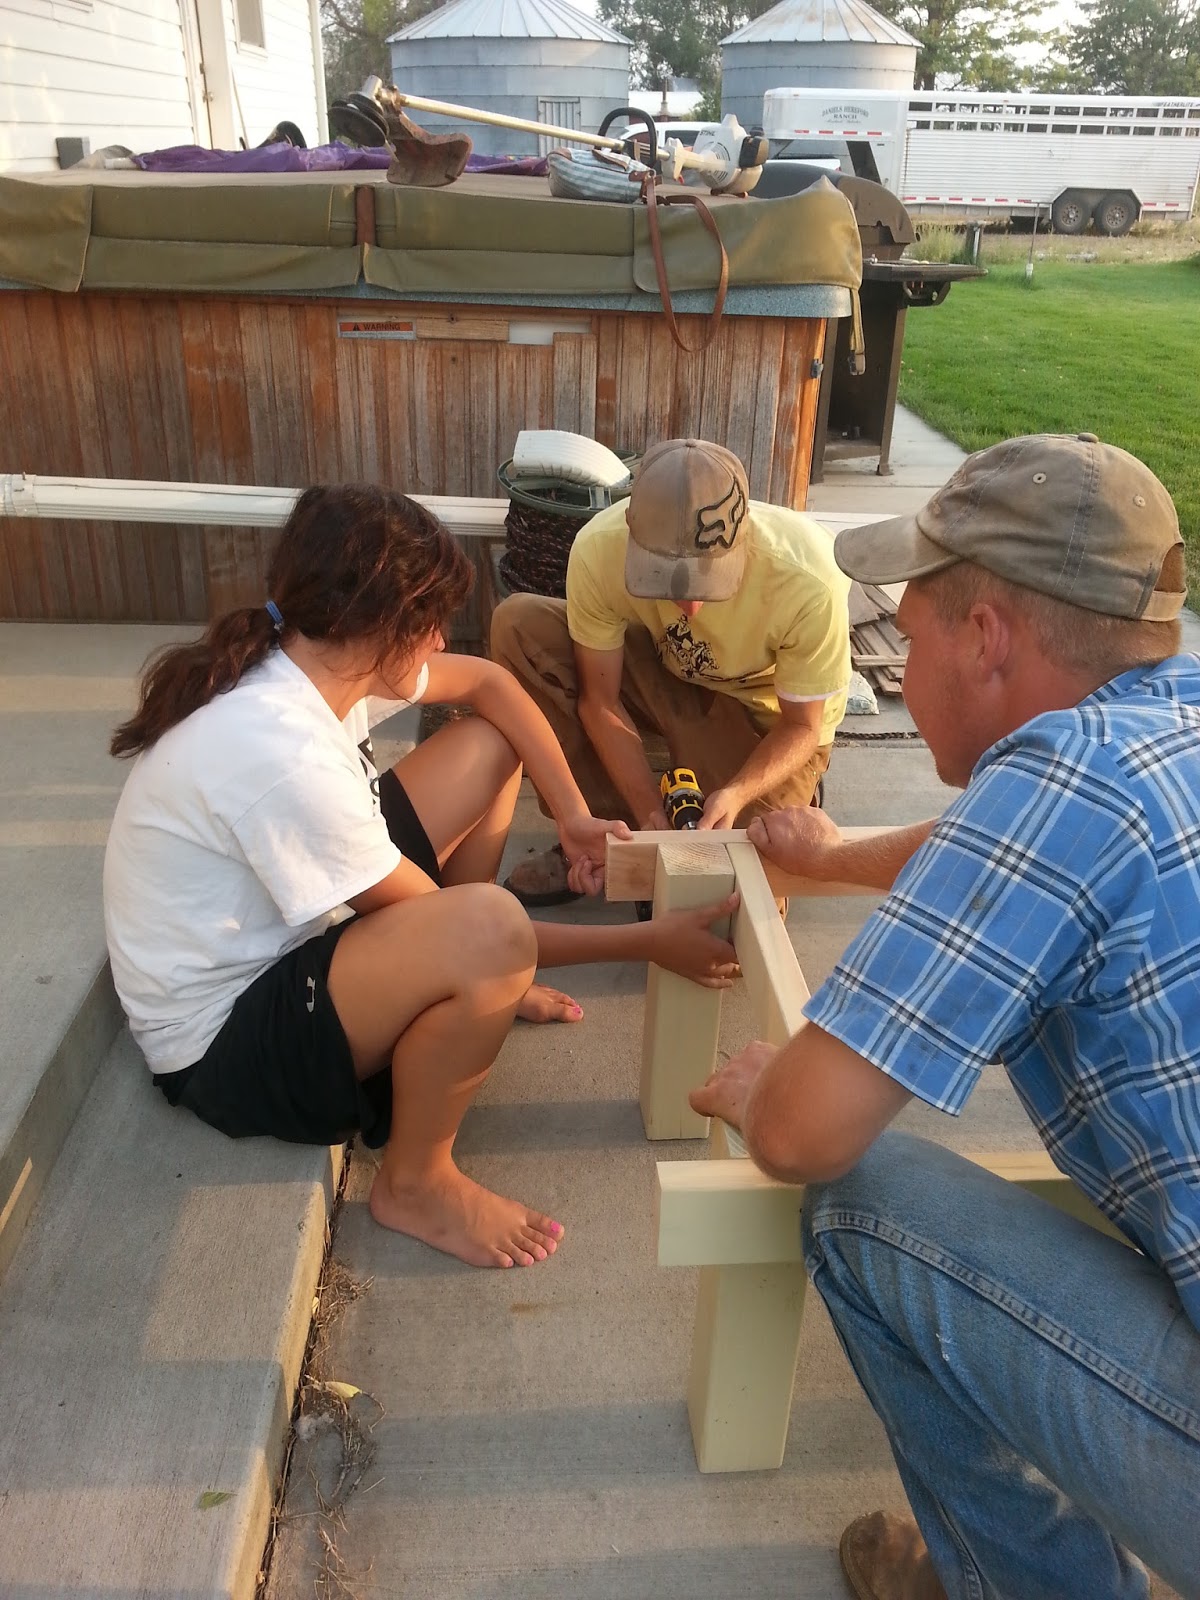
Then I went to Hess Lumber and got some 4 4x4's that I used for the legs and 4 2x4's that I used to build the foundation. This is where it got harder than I thought it would be and needed the help of my hubby and brother in law Kelly to make sure it would be level. 


 This shows a little of how we did it for the foundation. We had to measure and use the leveler to make sure it would be level. To start we used 2 4x4's and 1 2x4 and screwed them together. We did both sides, after that we got the longer 2x4's and attached the two ends together. 

The next part we just put the top wood on top. Our measuring skills were not quite how they should of been and we ended up with a little extra on each side. Which its old and rustic looking so it still looks fine. The we got the flat top nails and hammered them in so the top would stay on. 

Here is the finished product! 

I LOVE IT!

DIY RUG

Yes I did it, I made my own homemade RUG! I love it! And the best part is that it really is so easy! I got this idea of of "I am momma hear me Roar's blog tutuorial" and I thought that I would create a tutorial of my process. 

First. Get your supplies. 
1.Mat Runner: 
I got mine at Home-Depot, I didn't get the rubber one I got one with 
fabric on top to help add to cushioning. I can't remember exactly but I got 2x3.5
2.Fabic: I got whatever it is wide and 1 yard of it. You can get as 
much as you need(depending how big you want it)
3. Water-Based Polyurethane
4. Spray Adhesive
5. Duct Tape
6. Sissors

Second. Cut you mat to the size you want it. 
You can do all shapes and sizes. I did a normal rectangle 
because I wanted mine to be the entry rug. 

Third. Cut your fabric to the size you want it.
I left about 3 inches all the way around it to fold over. You can choose how much you want to leave, I just picked what I thought would secure it. (I don't think it really mattered after because the spray adhesive really sticks, and it stays really well.) Just make sure there is a little bit at least.
(Don't mind Krichele just so excited about her soon to be rug!)

Fourth. Determine where you want to lay your fabric & Spray Adhesive
Make sure you iron out your fabric because after this step you won't be able to move it anymore. Lay your mat down and place your fabric upright exactly where you want it. 


Then your going to want to grab half of your fabric separating it from your runner and spray your spray adhesive all over (I followed the spray and sprayed both sides to get a more permanent hold). Do a good coat and then fold your fabric back down, make sure to smooth the wrinkles out as you go. You will be surprised how well the fabric sticks to the mat. Then repeat with the other step.  (this process is really easy with two people because they can hold one end while you hold the other and pull it straight)

When you get to the corner to make it easy grab the corner and fold in towards the center of the mat, (you will have a triangle in the corner) then you can fold one side up against the edge and repeat with the other side. Almost like you would do wrapping presents. Really easy!

Fifth: Brush a water-based polurethane on the top of your fabirc
This will seal your fabric and protect it from and stains or spills you make on it. Make sure that it is water-proofed. That way it will stay the color you want it to be! I did two coats. The first coat really soaks up a lot. Make sure to get it everywhere. Once its fully dry, repeat as many times as necessary. 

Sixth. I duct taped the edges on the back all the way around.
You don't necessarily need to, but I did just for extra protection. The spray adhesive really sticks but you can't see the back anyways so I thought I'd rather be safe than sorry. 

Then place it wherever you want. 
Simple as that! 
Now you can be as creative as you want and get all the colors you desire! 


Any Questions: feel free to ask!
Related Posts Plugin for WordPress, Blogger...